Embedded UI
Now that you've registered a user and connected their data sources, you have Hurdlr's Embeddable UI at your disposal. While you can build your own UI that consumes the Hurdlr API directly, many developers opt to start off with the Embeddable UI, which is battle-tested with 1M+ businesses, to get a working product out in less than a week.
The Hurdlr team will customize the Embedded experience such that it can be plugged into your existing product without your user base knowing that it was embedded. For detailed instructions on how to add the Embedded experience to your app, see Getting Started with Hurdlr Embedded
1. Customizing the embedded UI to match your branding
Once you've received your Hurdlr API keys, the Hurdlr API team will reach out to you requesting the following assets to ensure the Embedded experience is custom-tailored to match your brand:
a. Figma design files or screenshots of any existing UI designs that you have
b. Your brand's color palette, including hex codes
c. Font packages used in your UI
d. Your logo, ideally as an SVG
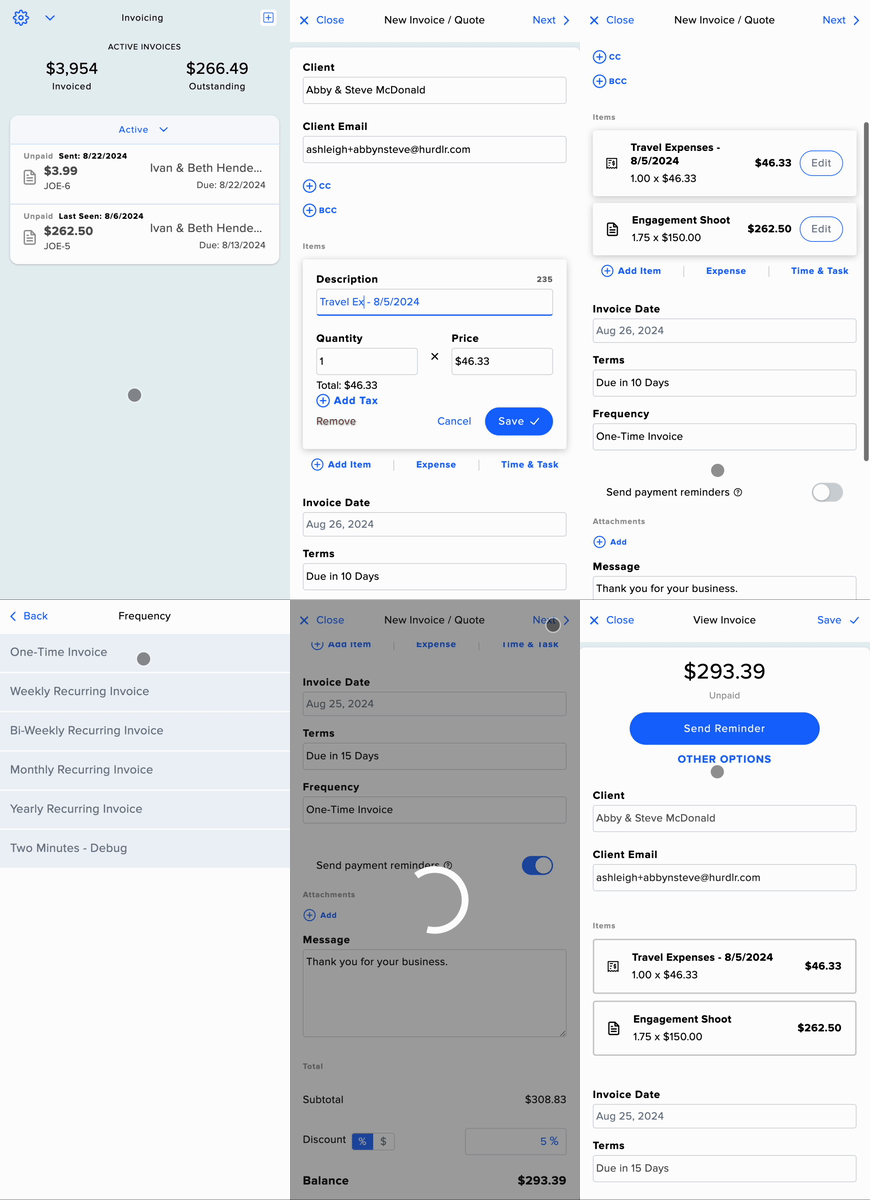
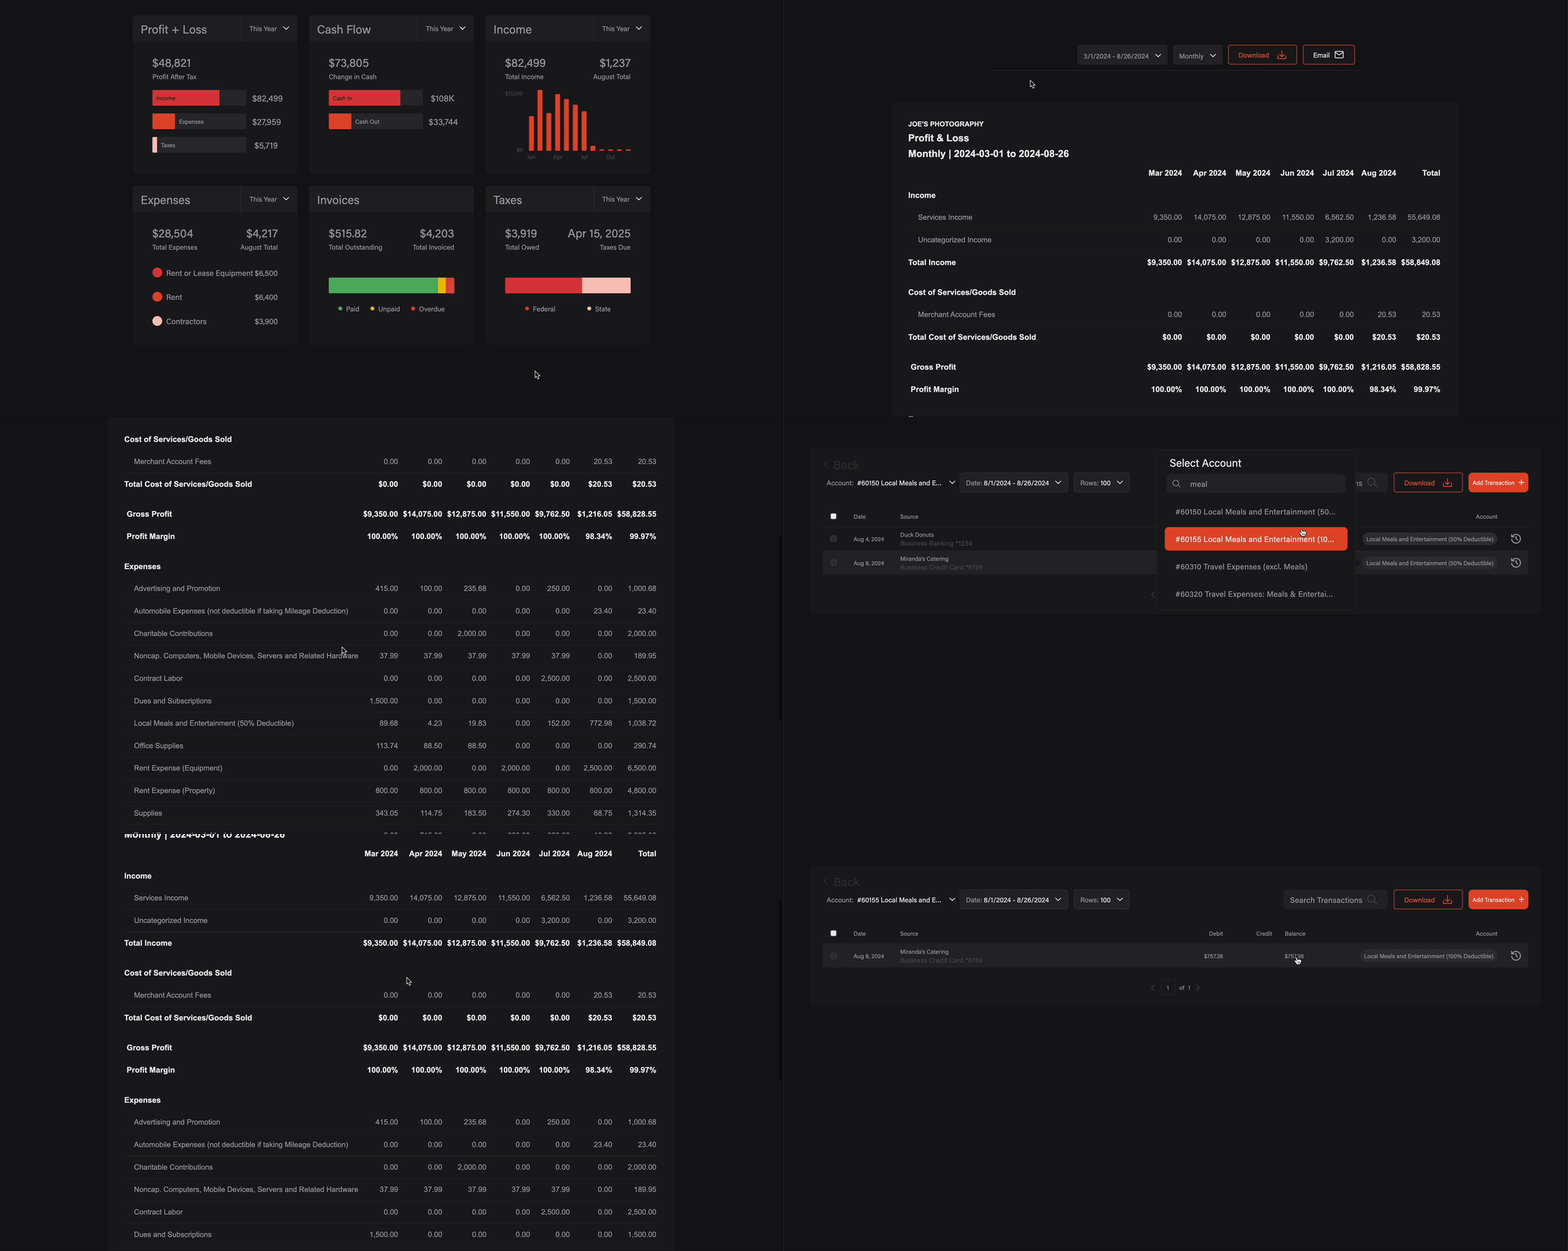
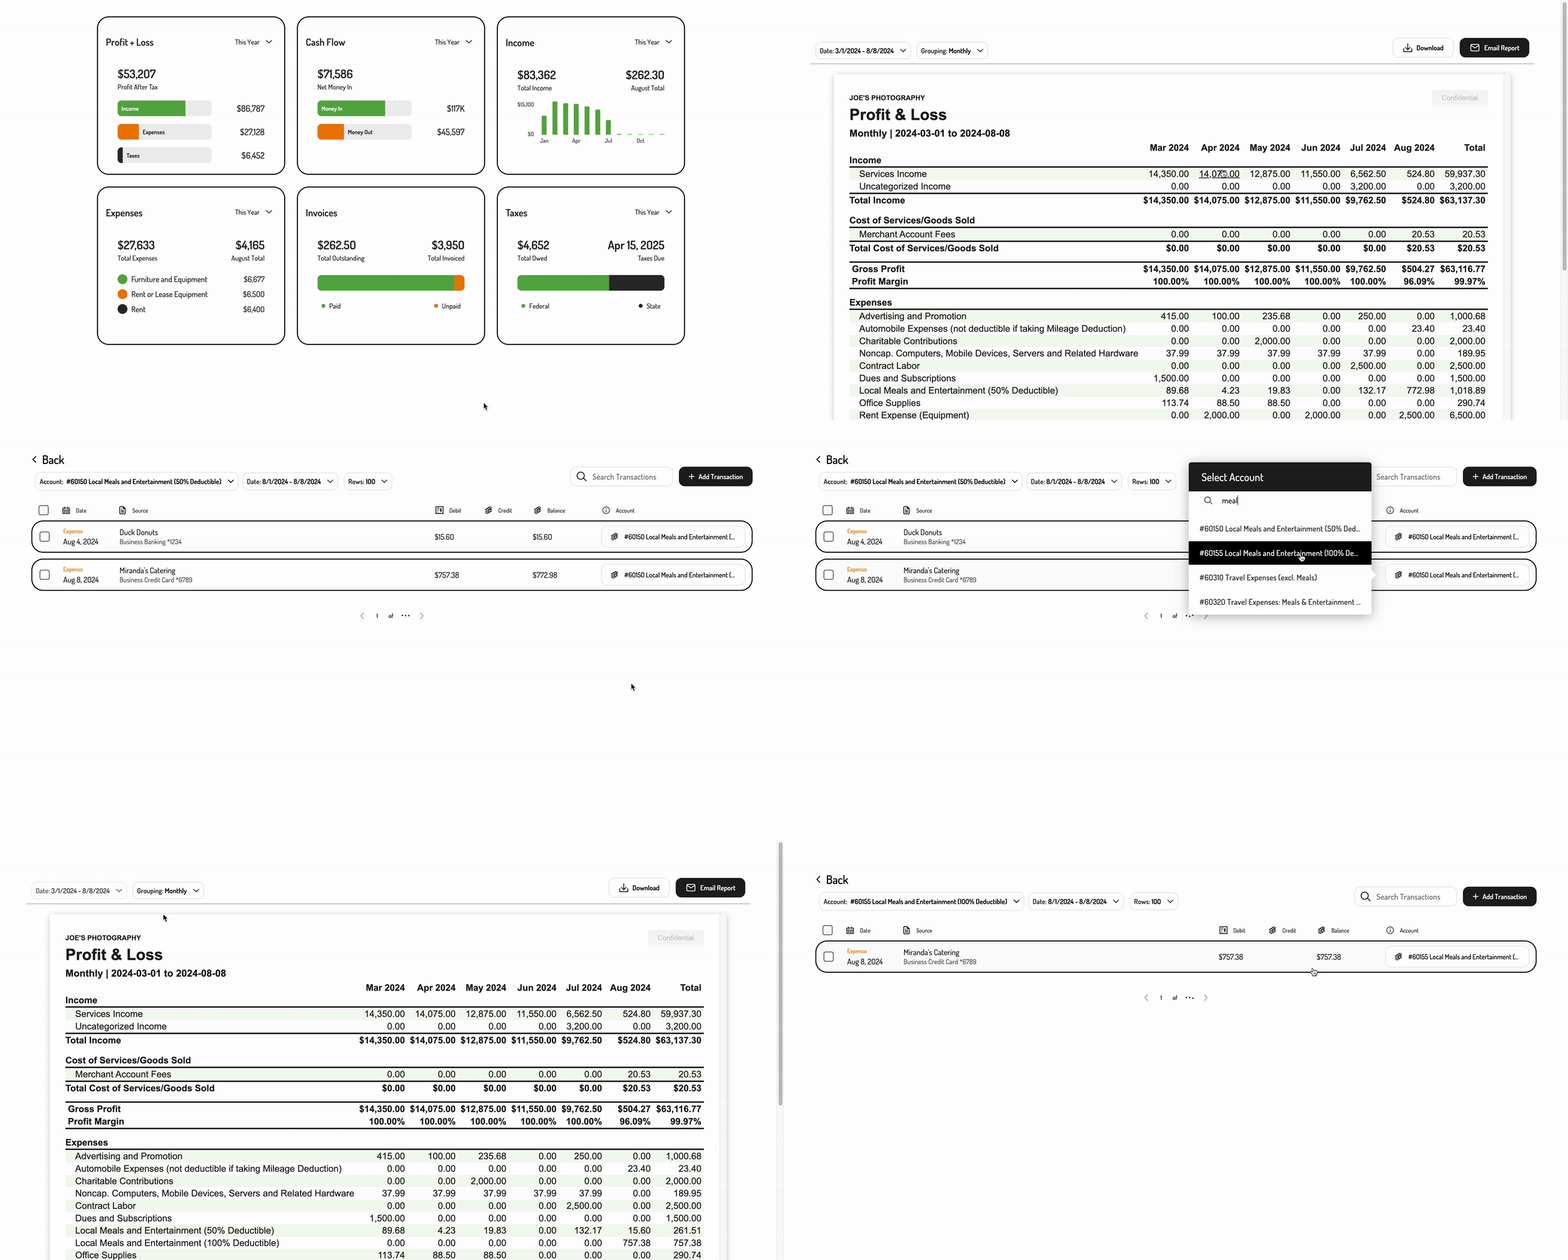
Hurdlr's approach to white-labeling allows more extensive customization than more common do-it-yourself UI components:


2. Embedding Hurdlr's white-labelled UI (Hurdlr SDK)
Your team can add the Embedded experience into your product in parallel with the Hurdlr team customizing the look and feel. Once the Hurdlr team has completed the custom design implementation, they will automatically be associated with your Hurdlr API client_id and show up in your Embedded experience.
To add Hurdlr Embedded to your web app, simply follow the steps on how to get started with Hurdlr Embedded.
3. Adding specific components into your business-facing product
Most of Hurdlr's customer-partners add various products from the Hurdlr Embedded experience into their existing navigation. For example, if your product has a navigation bar with items for "Scheduling" and "Customers", you might consider adding an option for "Invoicing" or "Reports". Once the user clicks on the Invoicing or Reports option, your product would render the Embedded Invoicing Dashboard or Report Dashboard component, respectively.
The following navigation items are most popular:
Each of the above components includes a full dashboard as well as all necessary "child" screens (e.g. forms for editing, setting screens, etc.) and edge cases. For example, the Tax Dashboard includes zero state UI for a user who has not set up their tax profile, a tax profile setup flow, a more advanced tax profile under a settings menu, the ability to track tax payments, drill down into individual quarterly tax estimates, and more.
Updated 4 months ago
