Xero Import User Guide
While independent research shows that 62% of small businesses don't use any accounting software yet, leaving a major greenfield opportunity for your platform, Hurdlr's customer-partners have also migrated thousands of businesses off of Xero using Hurdlr's Xero Import functionality.
The Xero Import functionality allows you to transfer a business’s Xero data into your embedded accounting platform, preserving the business’s historical financial information.
Getting started
Your team can enable Xero migrations by embedding the Xero Import component for your users to access directly, via the Embedded Accountant Dashboard for your bookkeepers to access, or via the Xero Import API if your company wants to migrate a large volume of accounts en masse.
Best Practice
The business owner has the best experience when the Xero import is performed prior to linking bank accounts or adding other transactional data, that way the Hurdlr API is able to ensure that any newly linked bank accounts don't pull in duplicate data that was already tracked in the user's prior accounting software.
Accessing the Xero Import from the Embedded Accountant Dashboard
-
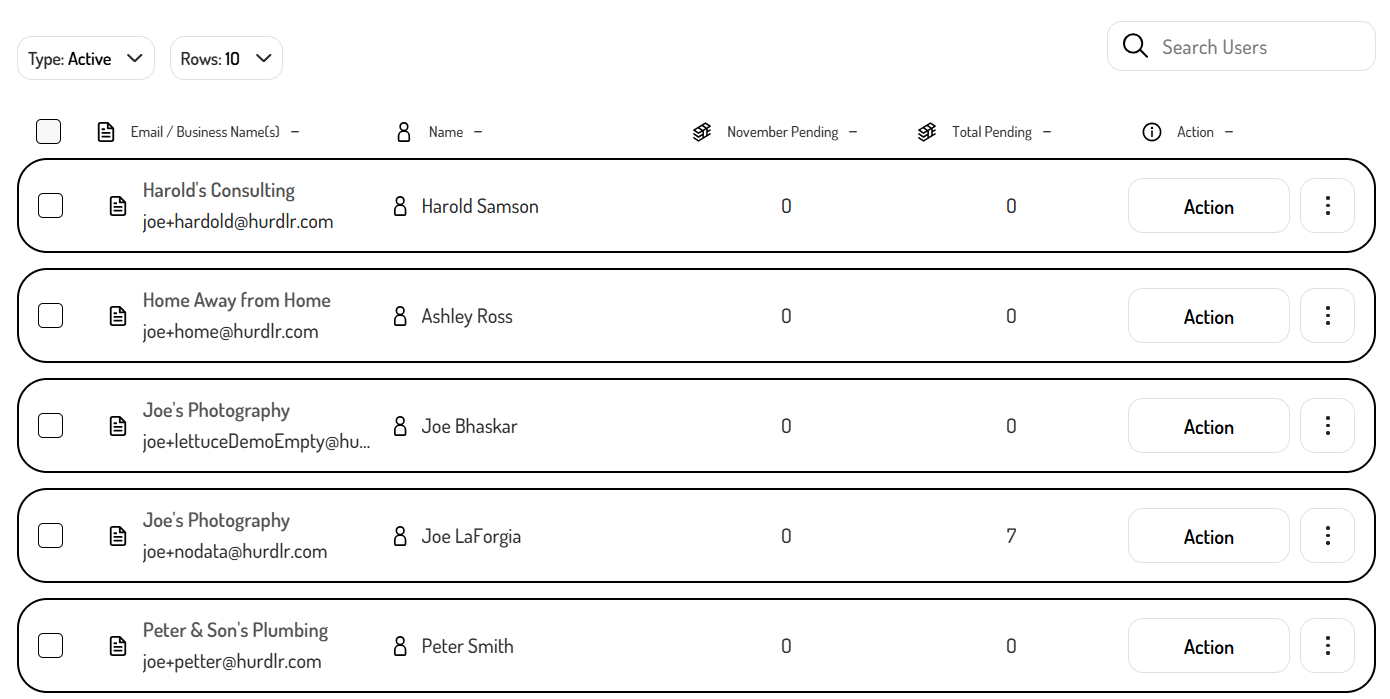
In the Embedded Accountant Dashboard, click the ‘Action’ button next to the business that requires the Xero Import.
-
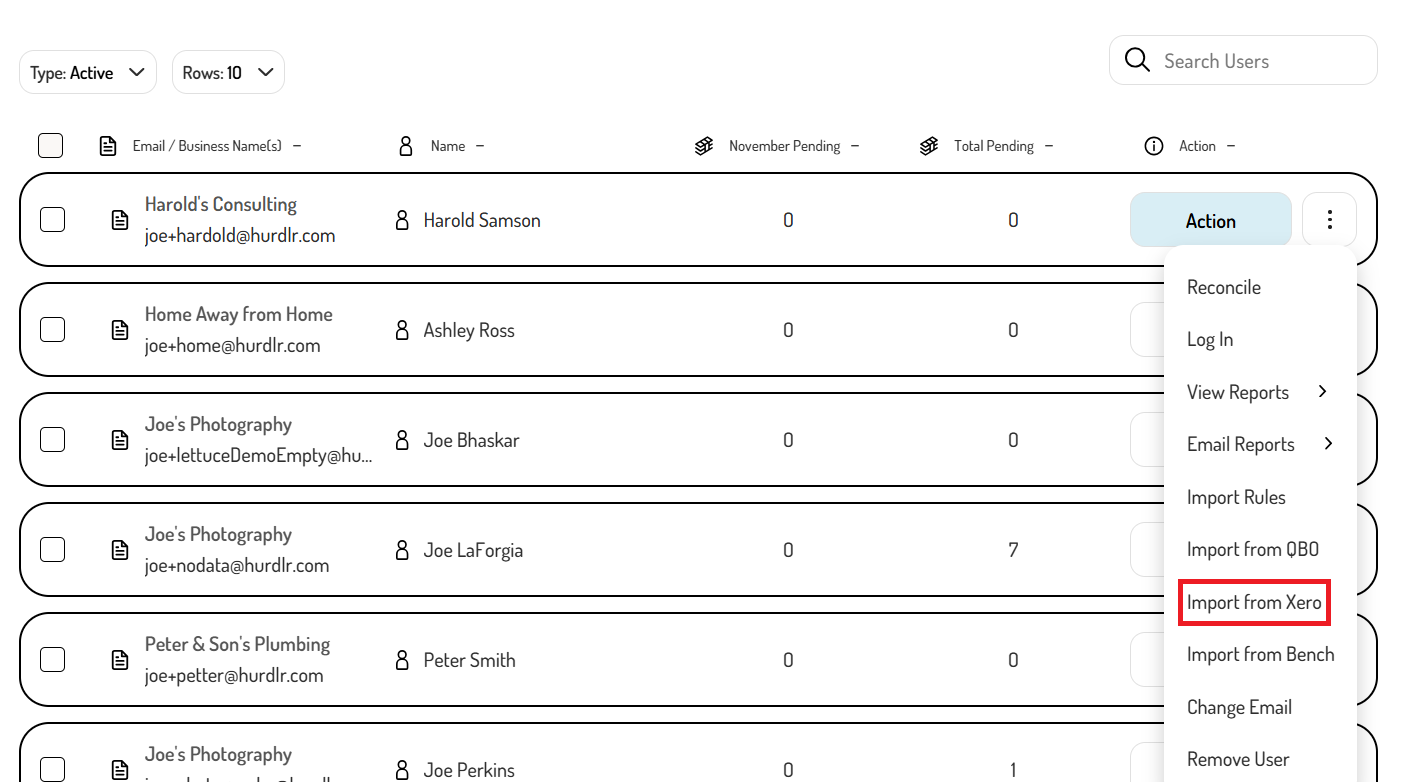
Select ‘Import from Xero’ from the dropdown menu.
Accessing the Xero Import from the Xero Import Component
Rendering the Xero Import component your in embedded accounting platform, launches directly into the import flow, which starts with uploading reports from Xero.
Navigating the import process
Uploading reports
-
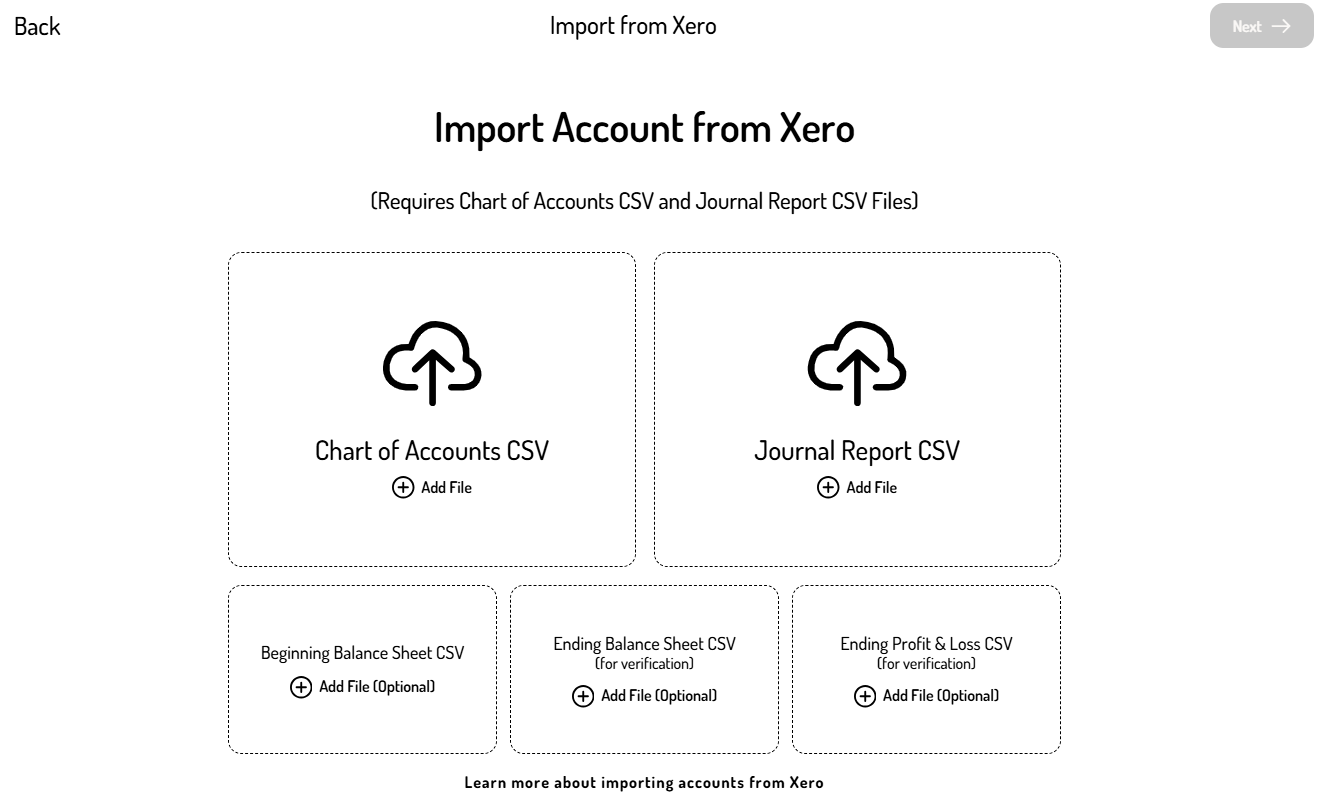
Add the Xero reports to the corresponding fields.
-
These reports can be exported from Xero as follows:
- ‘Chart of Accounts CSV’: Click Accounting -> Chart of accounts -> Export
- ‘Journal Report CSV’: Click Accounting -> Reports -> Journal Report -> Select the date range -> Export
- ‘Beginning Balance Sheet CSV’ (i.e. a balance sheet from the day before the first transaction in the Journal): Click Accounting -> Reports -> Balance Sheet -> Select the day before the first transaction in the Journal -> Export -> Excel
- ‘Ending Balance Sheet CSV’ (i.e. a balance sheet from the day of the most recent transaction in the Journal): Click Accounting -> Reports -> Balance Sheet -> Select the day of the most recent transaction in the Journal -> Export -> Excel
- ‘Ending Profit & Loss CSV’ (i.e. a P&L report from the day of the most recent transaction in the Journal): Click Accounting -> Reports -> Profit and Loss -> Select the day of the most recent transaction in the Journal -> Export -> Excel
Report Optionality
The Balance Sheet and Profit & Loss reports are optional, but strongly recommended. The Hurdlr API uses these reports to verify the accuracy of the import process. Importing them allows comparison of the Xero reports against Hurdlr’s data to ensure everything is accurate.
-
-
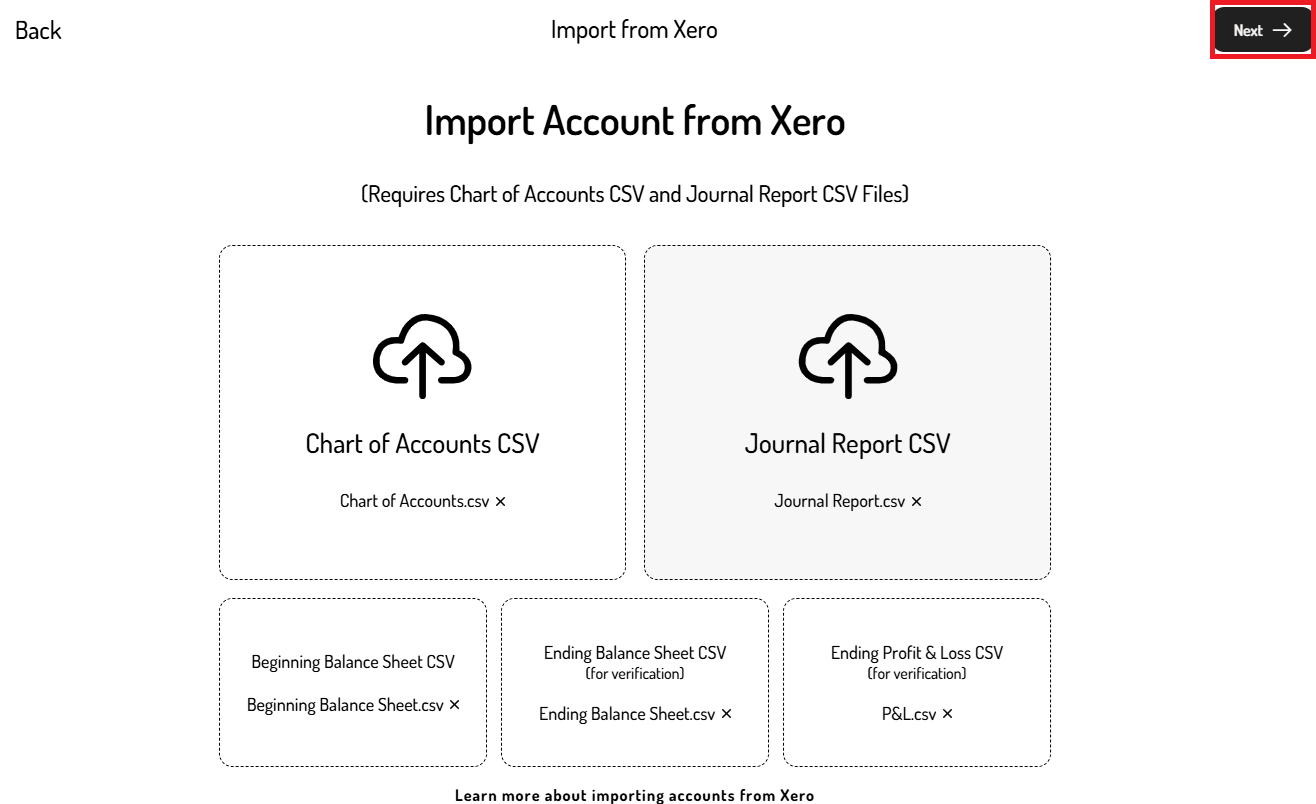
Once the files are mapped, click the ‘Next’ button in the top right corner.
Mapping the Chart of Accounts
After the reports are uploaded, Hurdlr's algorithms map the business's prior chart of accounts to the new chart of accounts. An outline of the GL account mapping will be shown for each account that was used by the business (i.e. each account with journal entries in the business's records).
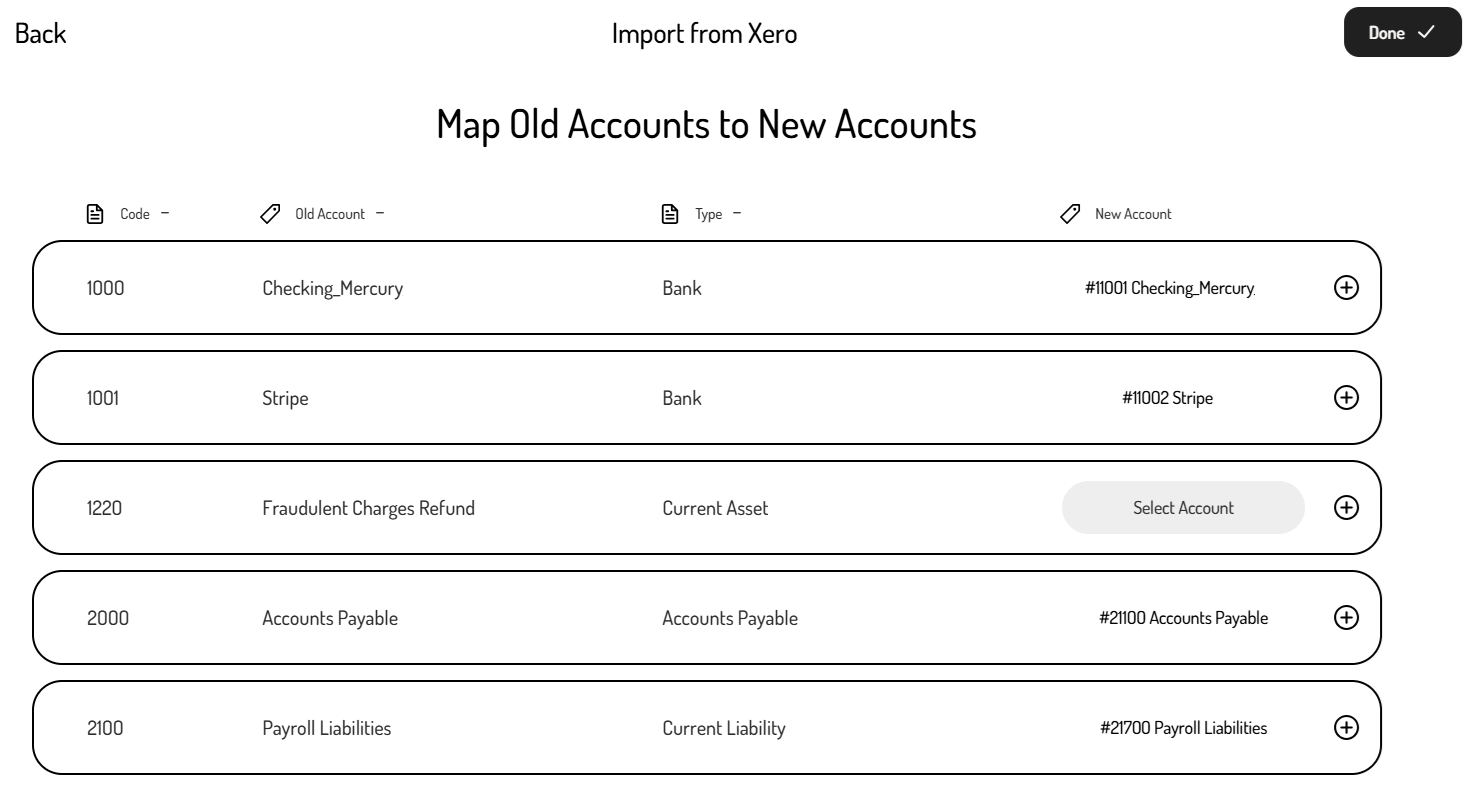
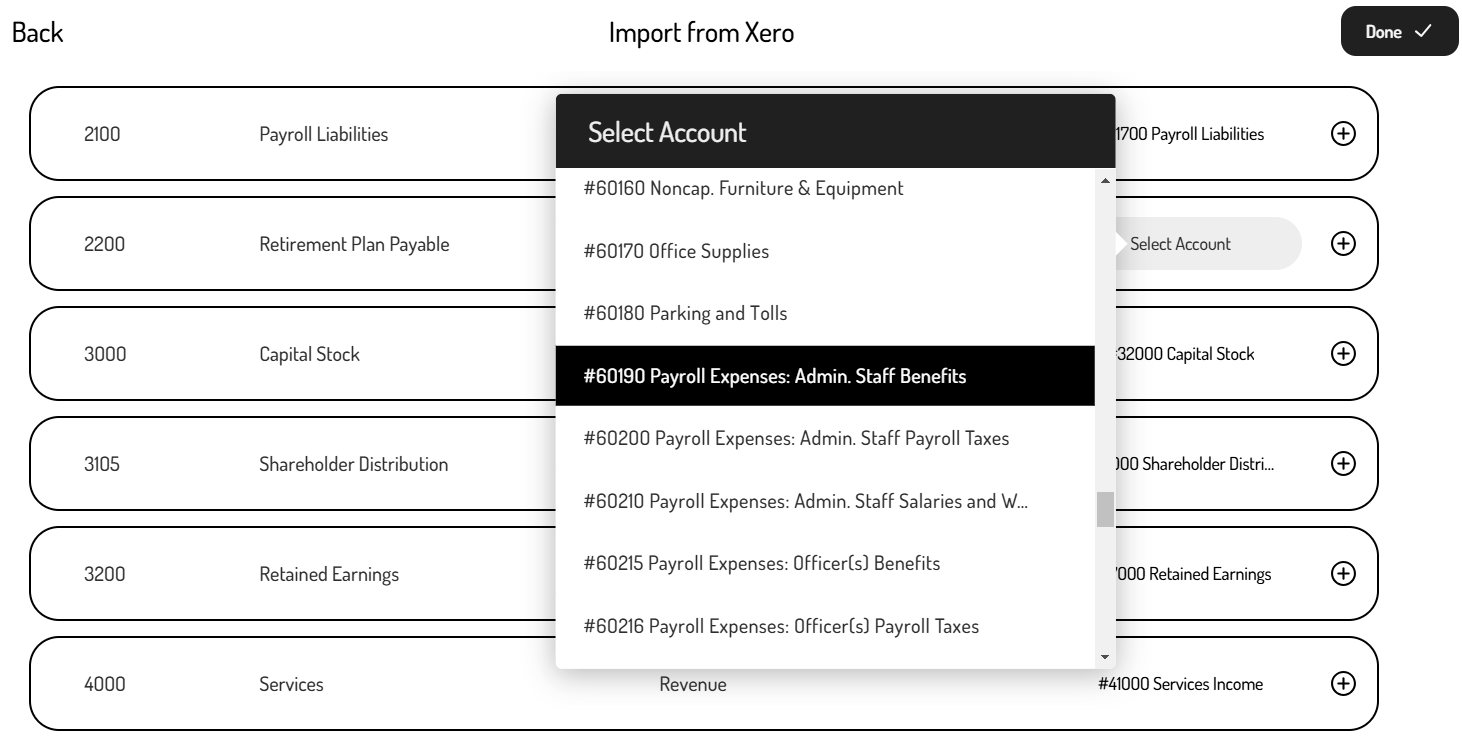
For any accounts that were not automatically mapped, either select the correct GL account or add a new GL account to the user's Chart of Accounts before continuing with the import:
-
Select an existing GL account from the list.
-
Add a new GL account by clicking the plus sign and completing the account details.
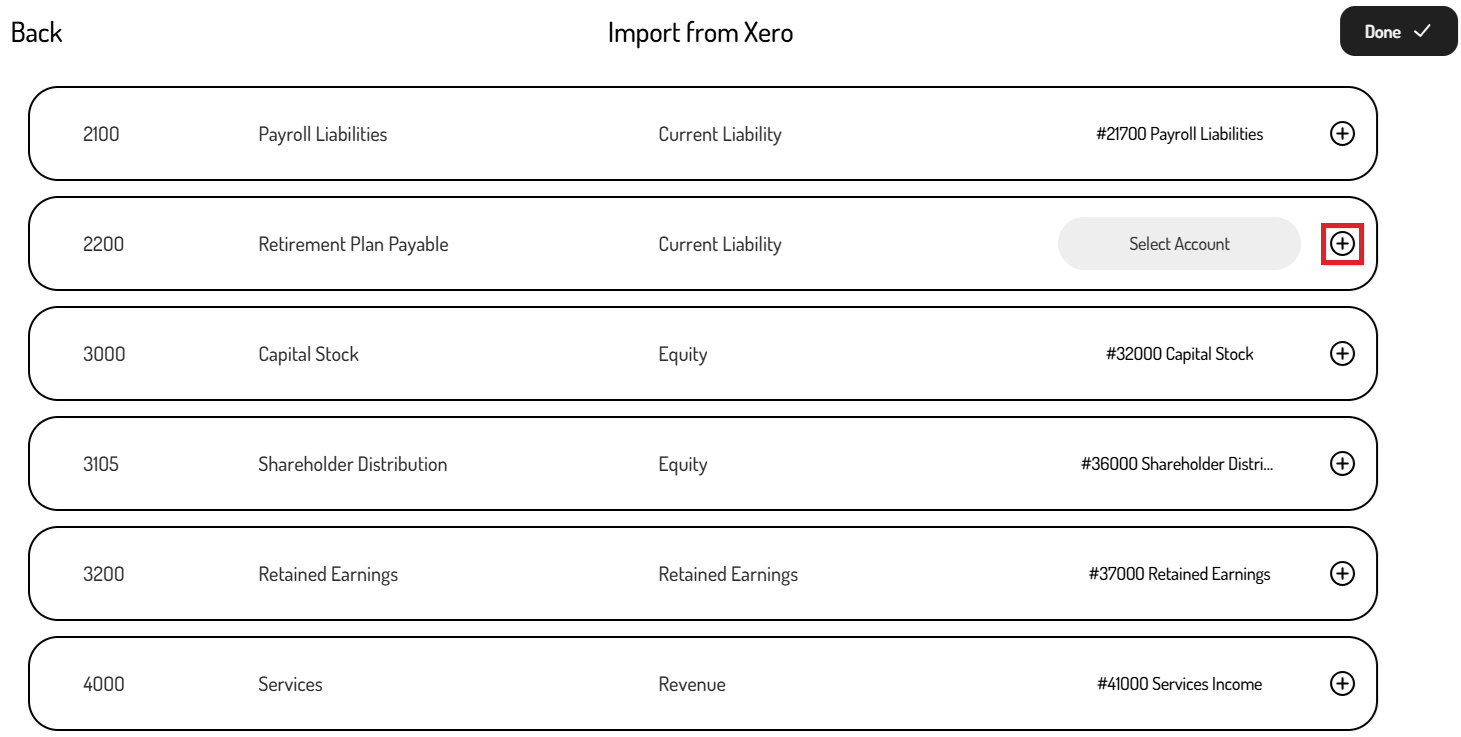
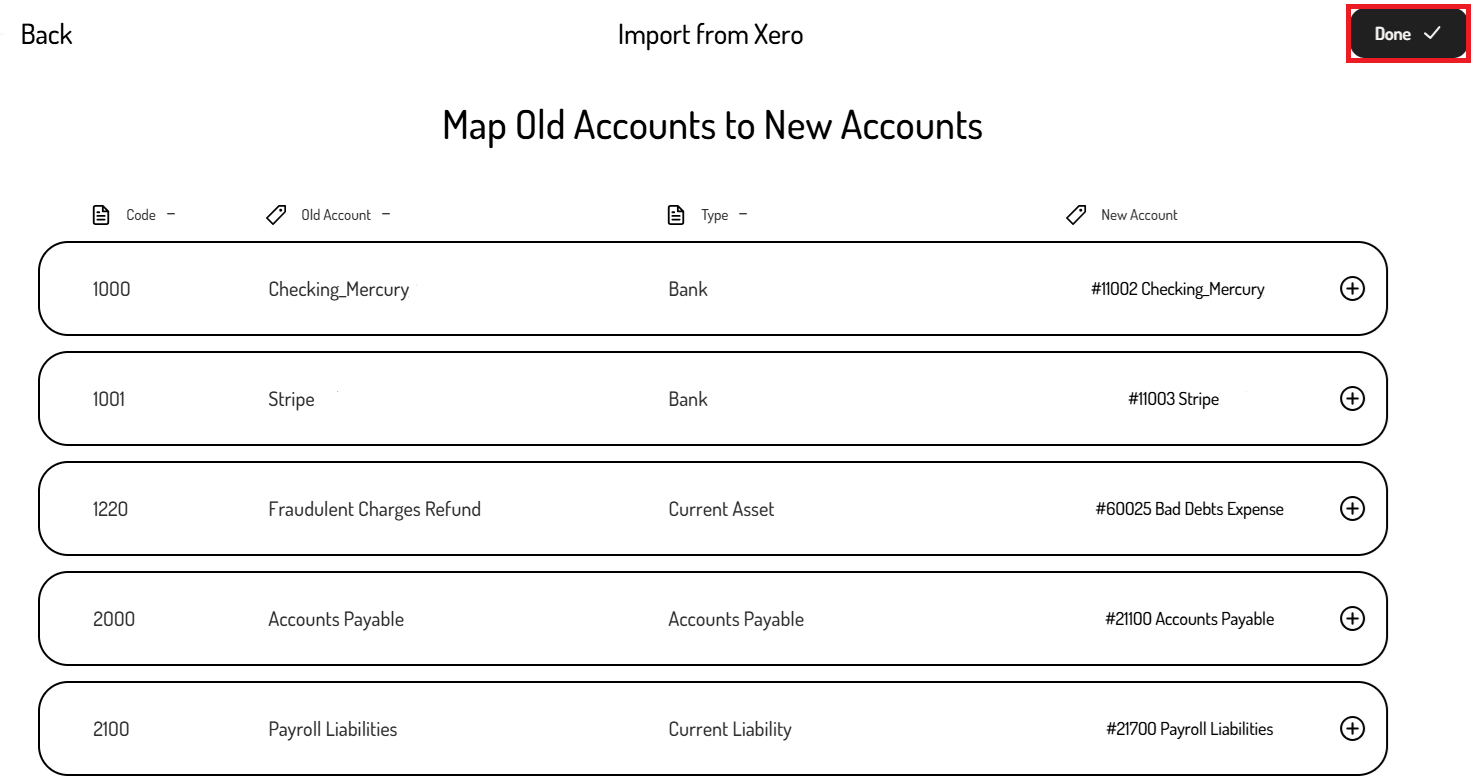
These options can also be used to edit the 'New Account' mapping as needed. Once all accounts are correctly mapped, click the ‘Done’ button in the top right corner.
Reviewing the import results
Processing the Xero Import may take a few minutes. Once completed, the status note above the business’s email/name will change from ‘Import from Xero in Progress’ to ‘Import from Xero Completed’.


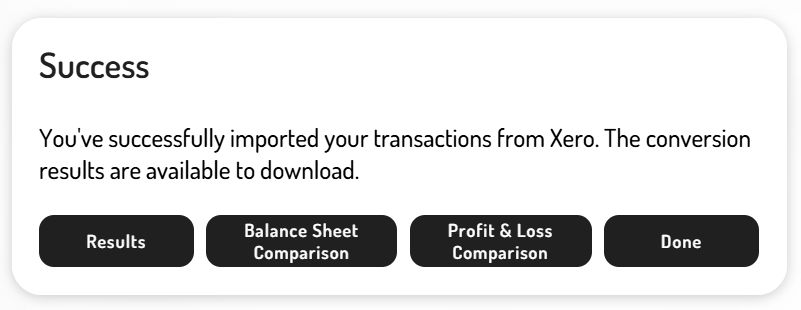
To verify the import, click the completed notification or click the ‘Action’ button next to the business and select ‘Import from Xero’. There will be a notification confirming the successful import, along with options for further review:
-
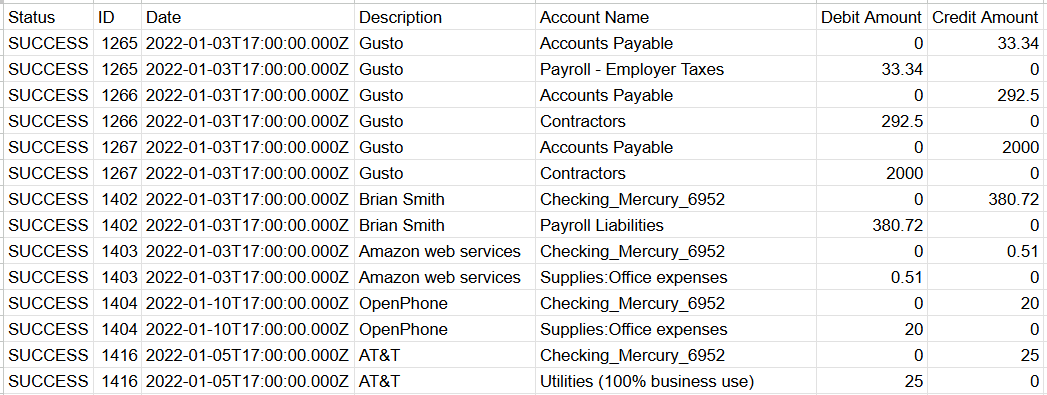
Results: Shows any import failures. The status column should display ‘SUCCESS’ for all journal entries. If there are any failures, please contact the Hurdlr team.
-
Balance Sheet Comparison - Highlights discrepancies between the Balance Sheet data from Xero and Hurdlr.

-
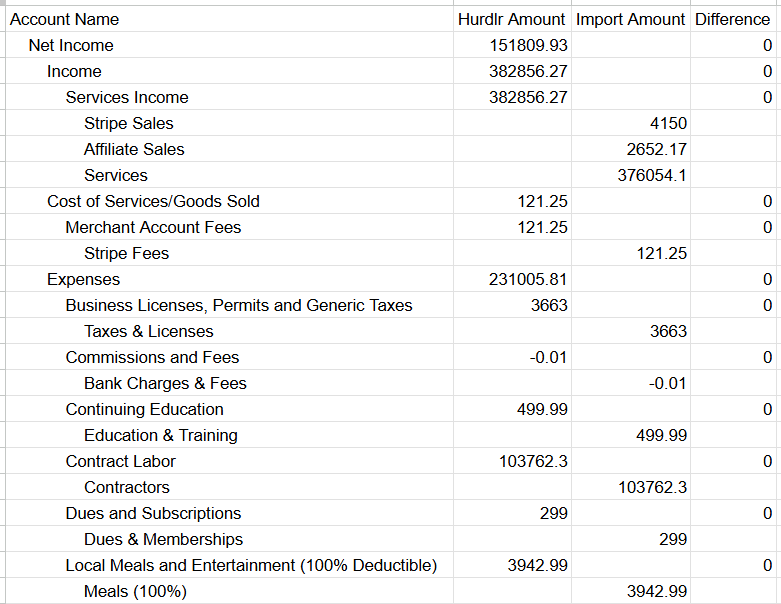
Profit & Loss Comparison - Displays differences in the P&L data between Xero and Hurdlr.
Best practices
- Complete the Xero import before the business owner links bank accounts or starts adding data. It’s recommended to withhold account access from the business owner until the Xero import is completed and verified.
- For the first 5-10 migrations, it’s best to test the files in the Sandbox environment to verify the accuracy of mapping and reporting for your organization’s Chart of Accounts. This approach minimizes the need for re-importing.
- For unmapped accounts, Hurdlr will follow up with the Partner to determine if specific mappings should be automated. This reduces errors and minimizes manual mapping over time.
- After completing the Xero import, business owners can link their bank accounts and credit cards via the Embedded Accountant Dashboard.
- When bank accounts and credit cards are linked, Hurdlr will only pull transactions from the date of the last transaction tracked in Xero.
- Bank accounts and credit cards from Xero should be merged into the corresponding accounts linked in Hurdlr.
Updated 3 months ago
