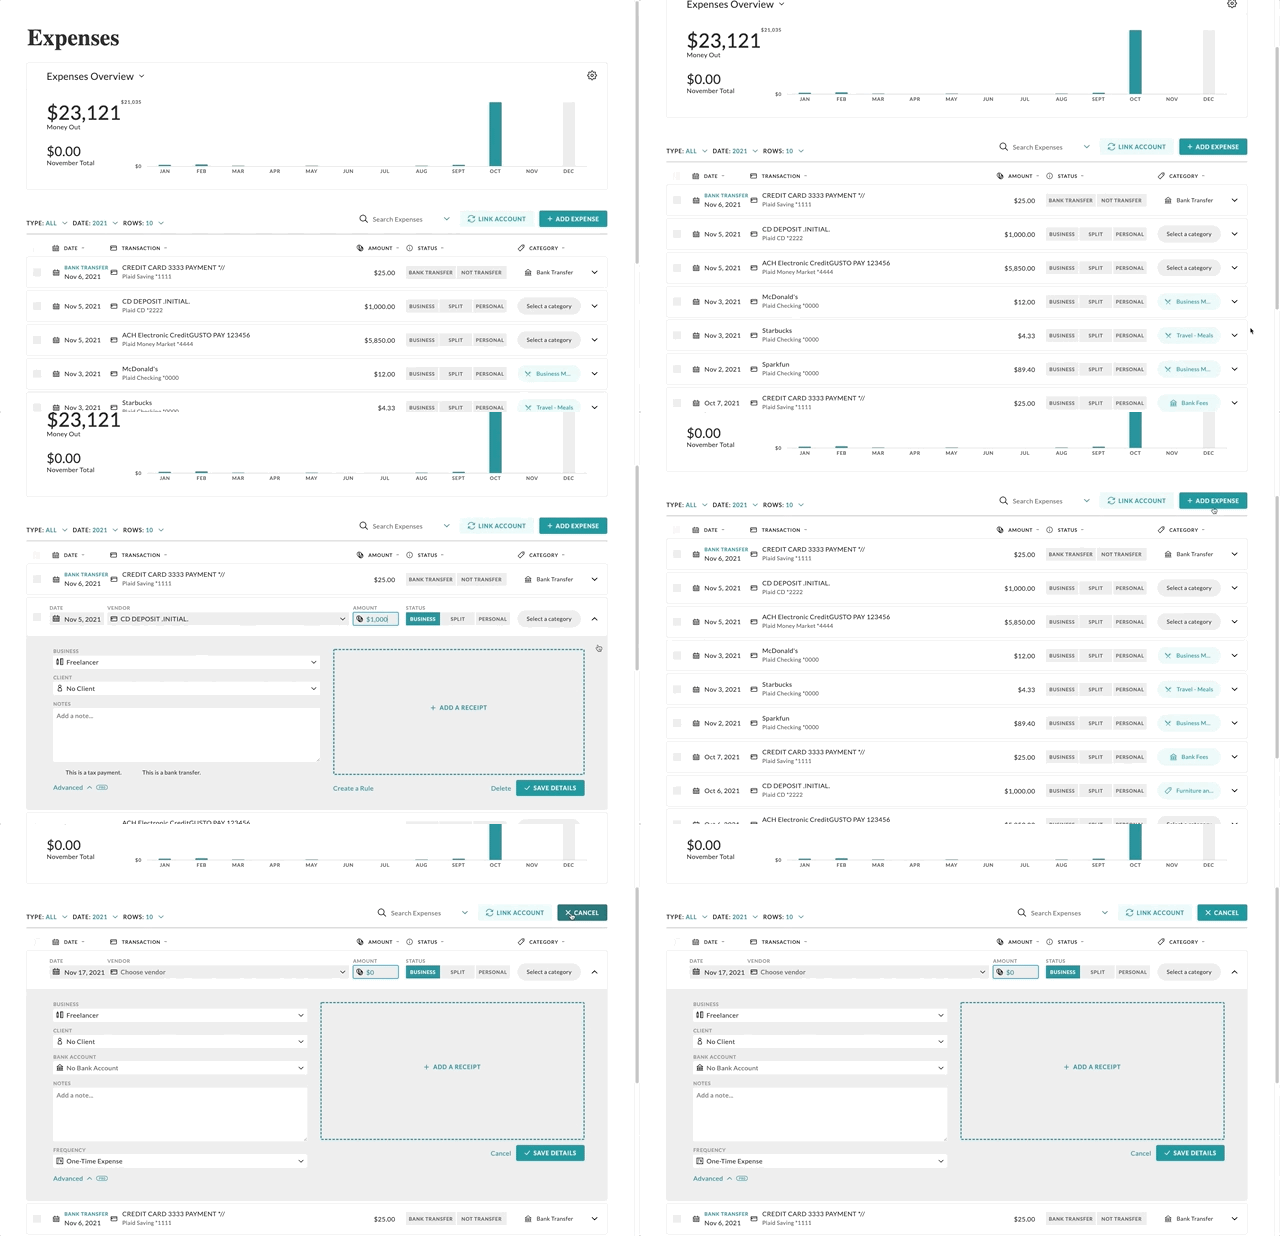
Expense Dashboard
If you want to get up and running quickly with a proven expense tracking UX that matches your colors, fonts, and branding, then the Embeddable User Interface is your best bet. Hurdlr's Expense Dashboard is a full-featured embedded experience (including all drill-down forms) for everything related to expenses; all you need to do is add an "Expenses" item to your product's navigation.
1. Initializing the Embedded Experience
To initialize the Hurdlr Embedded experience in your project, follow the instructions on Embedding Hurdlr's white-labelled UI.
2. Adding the Expense Dashboard to your app
To render the Expense Dashboard, you will need to provide the elementId parameter, which is the HTML id of the main <div> where you would like the Expense Dashboard to render. When your user taps on your "Expenses" navigation CTA, you simply need to invoke the following line of javascript:
Hurdlr.renderScreen(elementId, 'expenseDash');
3. Customizing the UI to match your branding
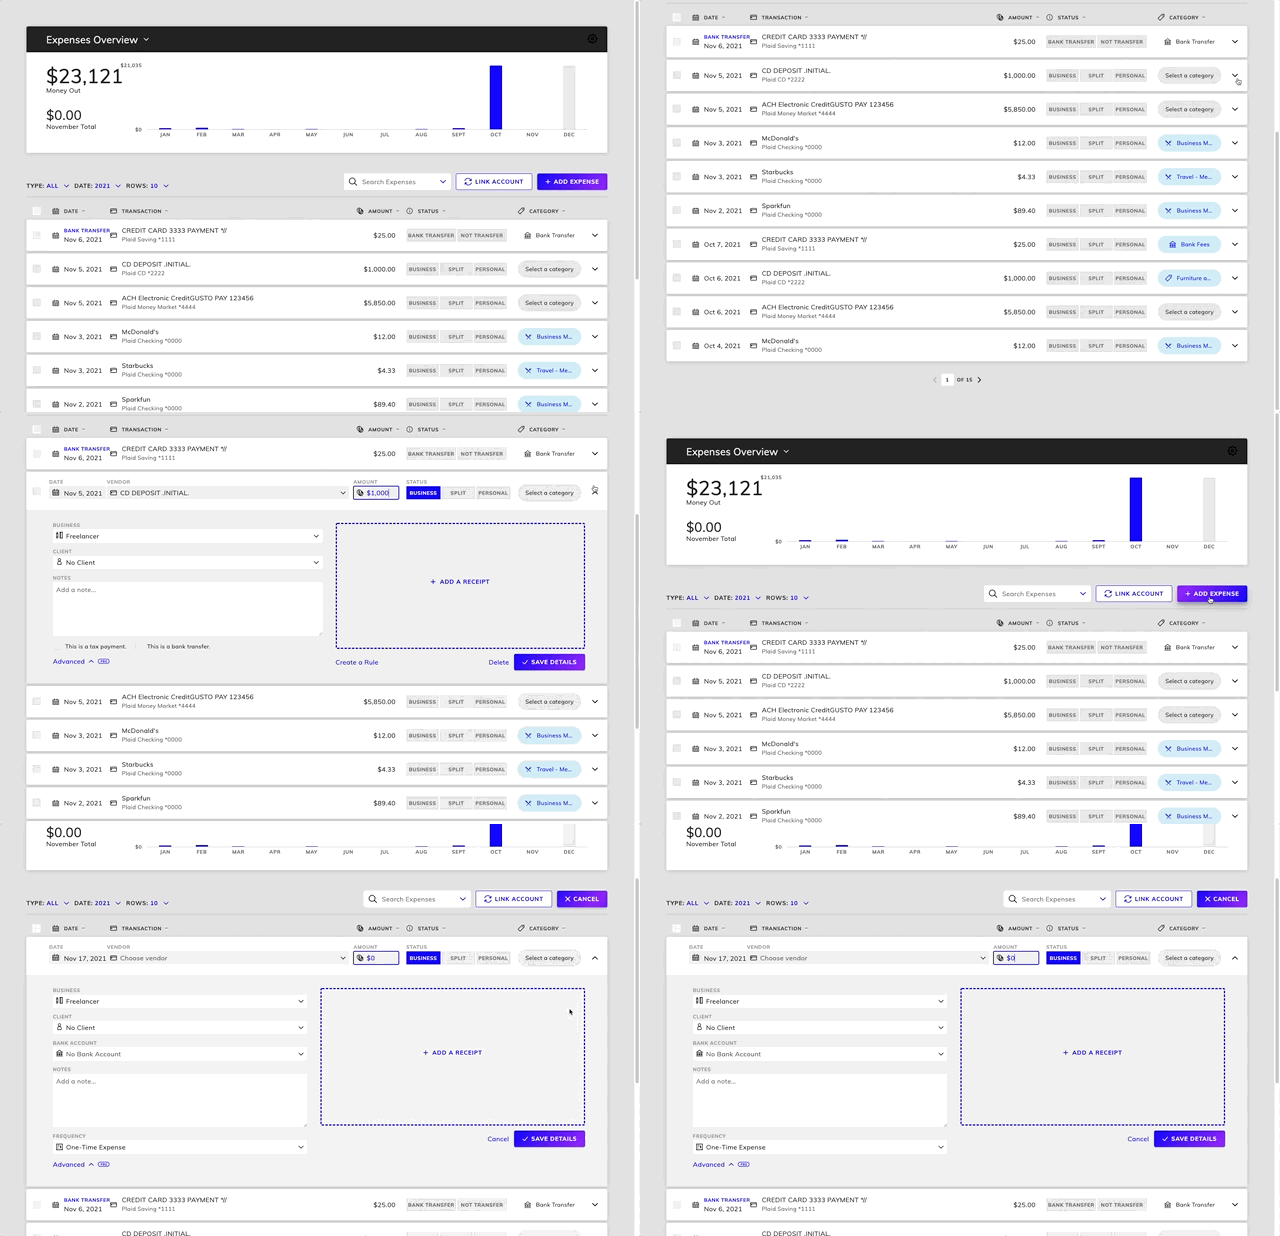
Hurdlr's API team can quickly customize the UI to match your branding. Please follow the instructions on Customizing the embedded UI to match your branding.
Some examples of customized experiences are shown below:


4. Plaid Link
If you are using your own Plaid Integration, then you will also want to take advantage of the Hurdlr Embedded experience's Plaid Integration event listeners.
Updated 3 months ago
